How to Add Low Text Highlights in Squarespace

By Elliot Olson
Lead Web Designer + Digital Strategist
How to Highlight Text in Squarespace
To add highlights to your website, you’ll add custom CSS style code to your Squarespace site. You may be thinking… Wait a minute. CSS whatnow? If you’ve never encountered CSS before, never fear. It’s pretty dang straightforward. Here’s an easy way to think about your Squarespace website’s two parts…HTML is the content of the site — the text, images, links, etc.
CSS is the style of the site — the fonts, colors, and layout.
So basically, your CSS sets the style of your HTML content. To add lowlights in Squarespace, you’ll add custom CSS to your site. Today, I’ll give you examples to add lowlights to a few different pieces of your content:- Titles
- Words
- Links
Add a Highlight to Titles in Squarespace
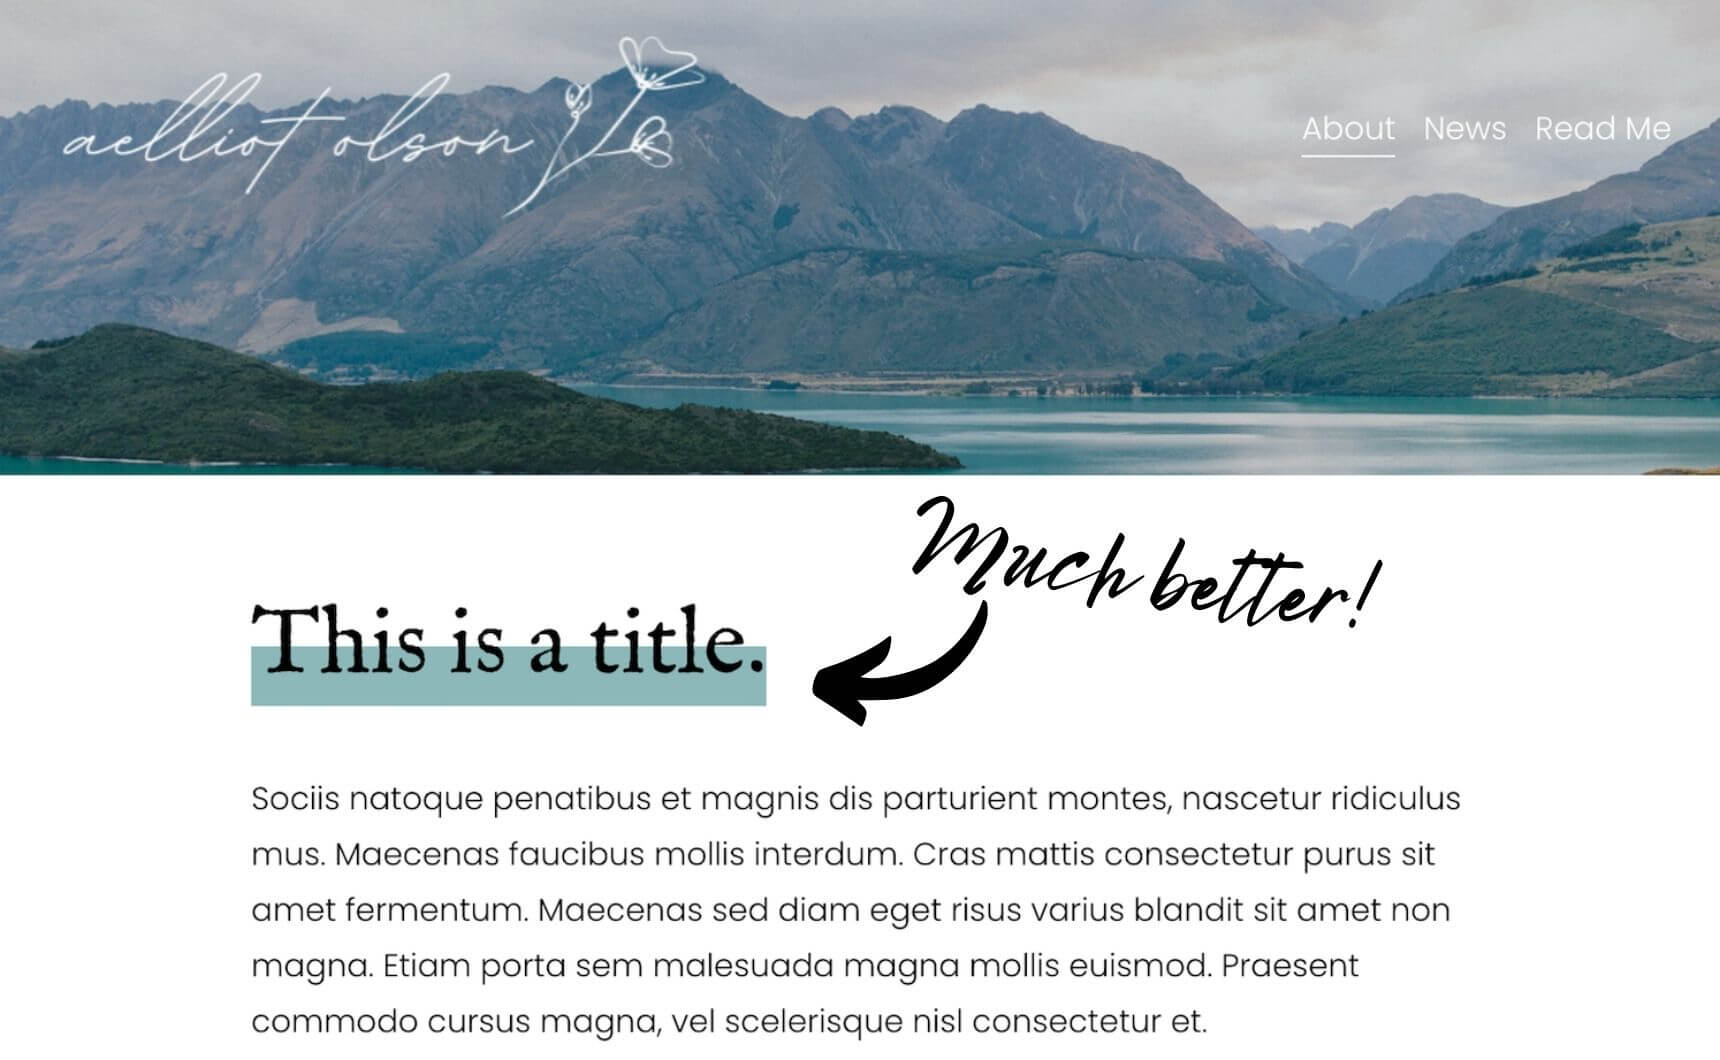
Let’s start with a straightforward option — adding a lowlight behind all your H1 titles in Squarespace. Add this code to your Custom CSS section: h1 { background: linear-gradient(180deg, rgba(255,255,255,0) 50%, #8cb8ba 50%); } If you were reading the CSS as a human, the instructions would say… Make the title background white for the top fifty percent and blue for the bottom fifty percent. Here’s the breakdown:180deg = 180 degrees, aka making the lowlight horizontal
rgba(255,255,255,0) = the top color, in this case transparent
50% = for the first fifty percent of the area
#8ca5af = the bottom color, in this case blue
50% = for the bottom fifty percent of the area
Once you save that text in the Custom CSS section of your Squarespace site, you can see a lowlight appear behind all H1 titles. But the lowlight is covering the entire width title area. It’s not limited to the width of the actual title text.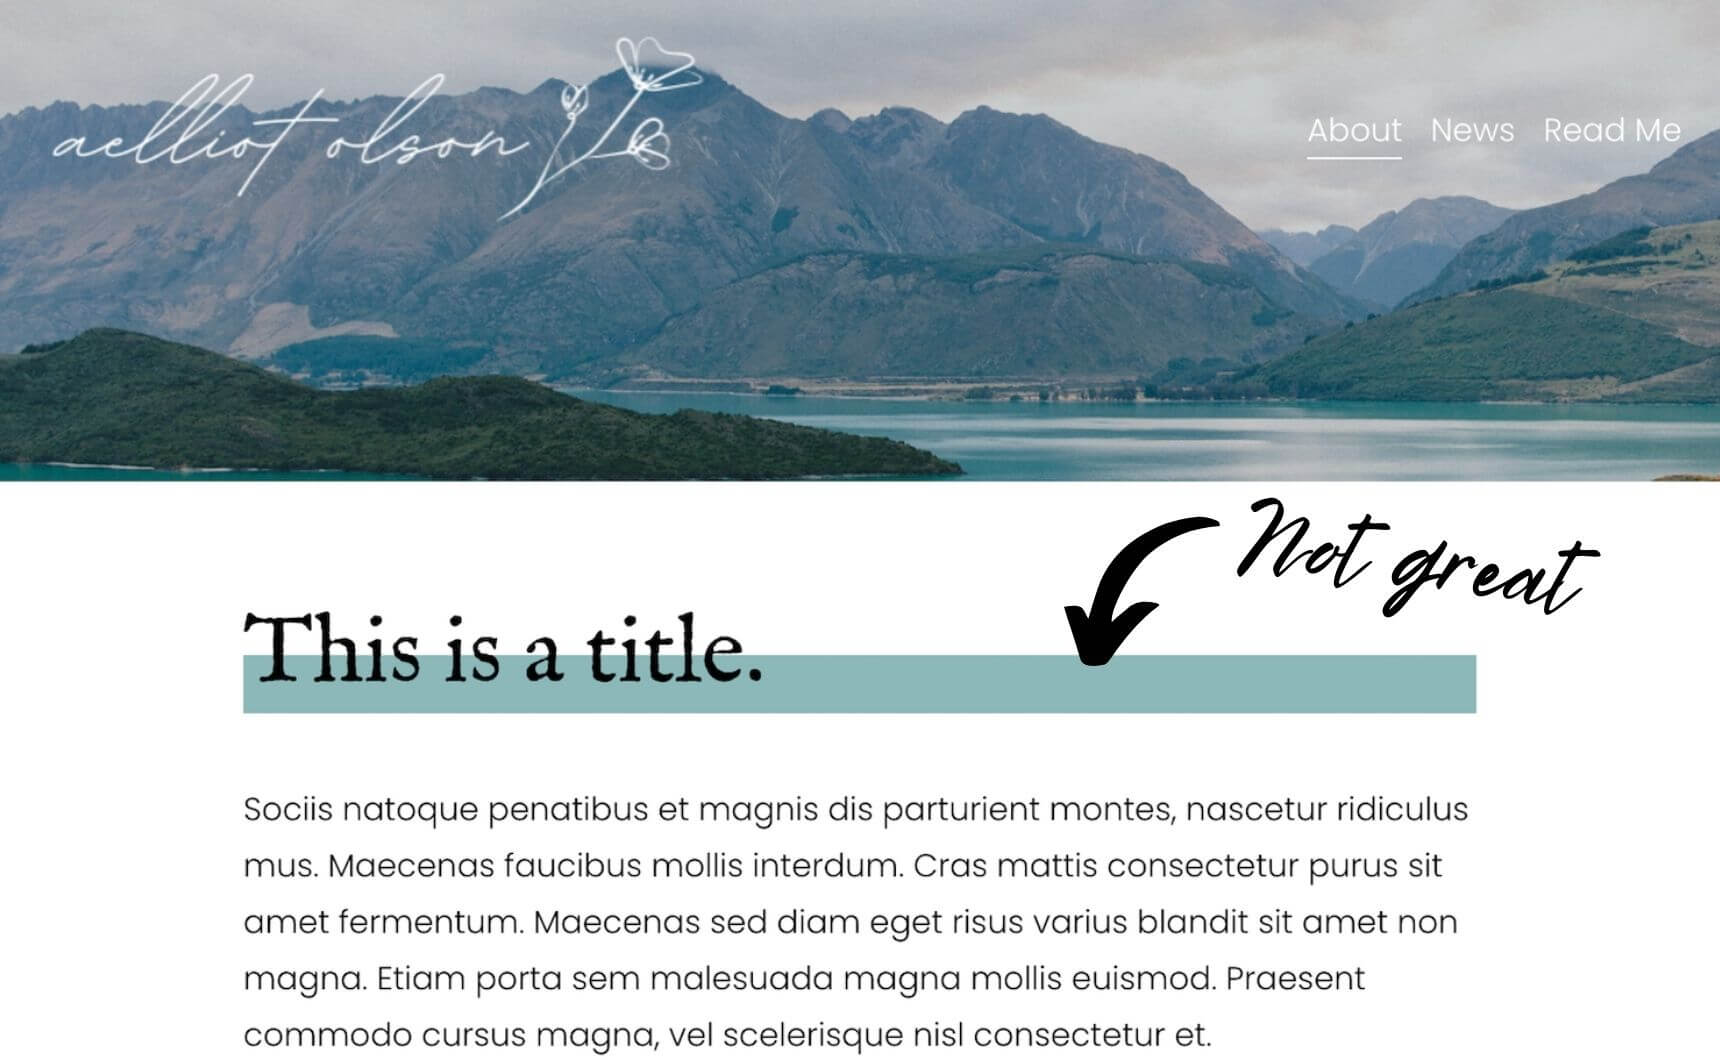 I assume you don’t want a massive lowlight that spans the whole title area.
Just add display: inline to your CSS like so:
h1 {
background: linear-gradient(180deg, rgba(255,255,255,0) 50%, #8cb8ba 50%);
display: inline;
}
Now the lowlight will only span the width of the actual H1 title.
Add a Highlight to Specific Words in Squarespace
Let’s say you want to add a lowlight to just certain titles or words in Squarespace. Instead of applying your new CSS to the entire H1 title, you can use it in specific instances. In your CSS, replace H1 with a name like lowlight: .lowlight { background: linear-gradient(180deg, rgba(255,255,255,0) 50%, #8cb8ba 50%); } Now in Squarespace, add a code block and paste this text: [raw]<h1>This is a <span class=”lowlight-blue”>title</span>.[/raw] And presto! You have a lowlight behind just the word title.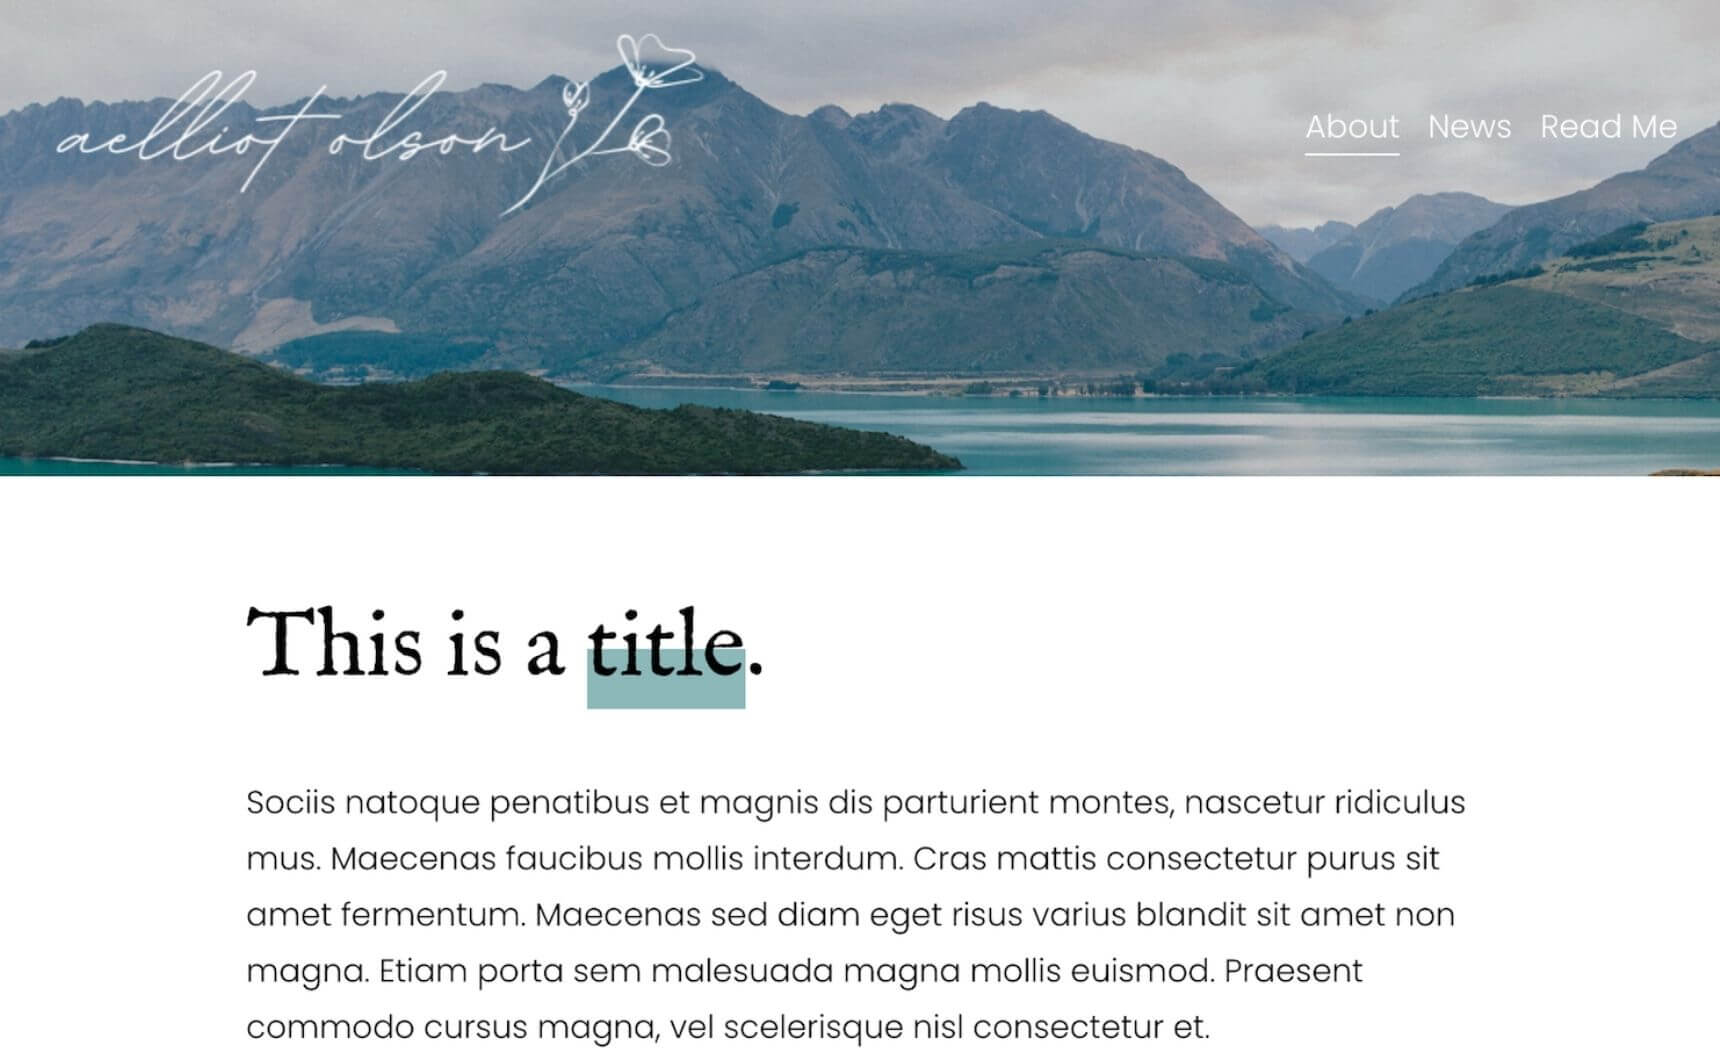
BONUS: PRO TIP
Rather than using a generic name like “lowlight,” I recommend using more specific names like “lowlight-blue.” That way, you can add extra lowlight colors easily. For example, maybe you want a blue AND pink lowlight. In your CSS you may have: .lowlight-blue { background: linear-gradient(180deg, rgba(255,255,255,0) 50%, #8cb8ba 50%); } .lowlight-pink { background: linear-gradient(180deg, rgba(255,255,255,0) 50%, #ffb6c1 50%); } And in your code block, you can write: [raw]<h1>This is a <span class=”lowlight-blue”>title</span> with blue.[/raw] [raw]<h1>This is a <span class=”lowlight-pink”>title</span> with pink.[/raw] Voila!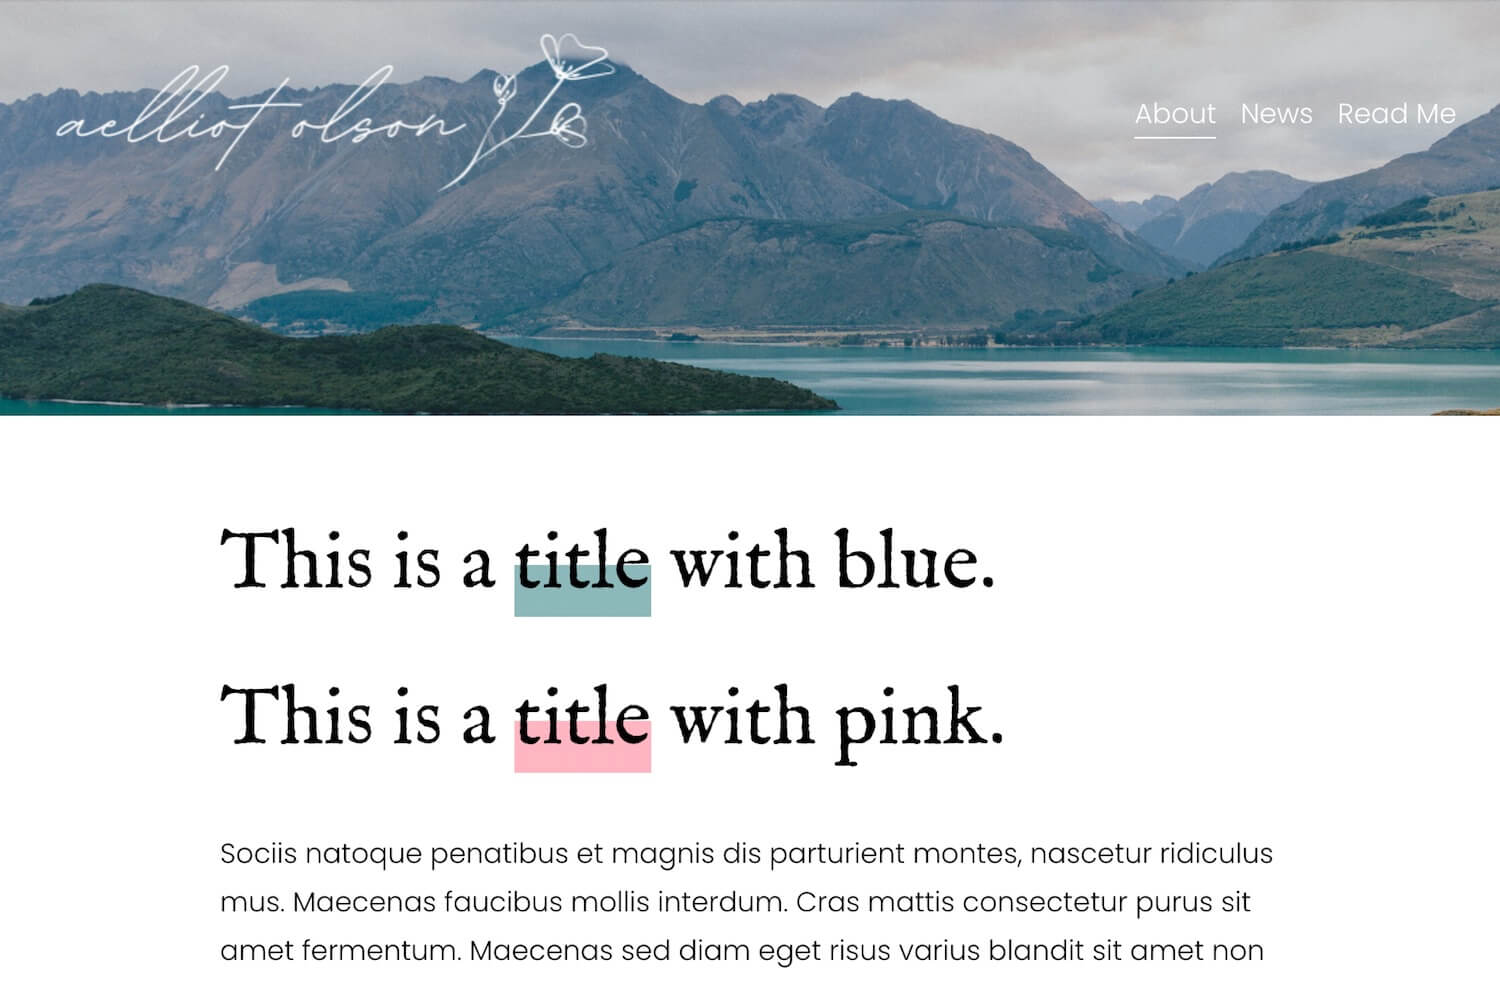
Add a Highlight to Links in Squarespace
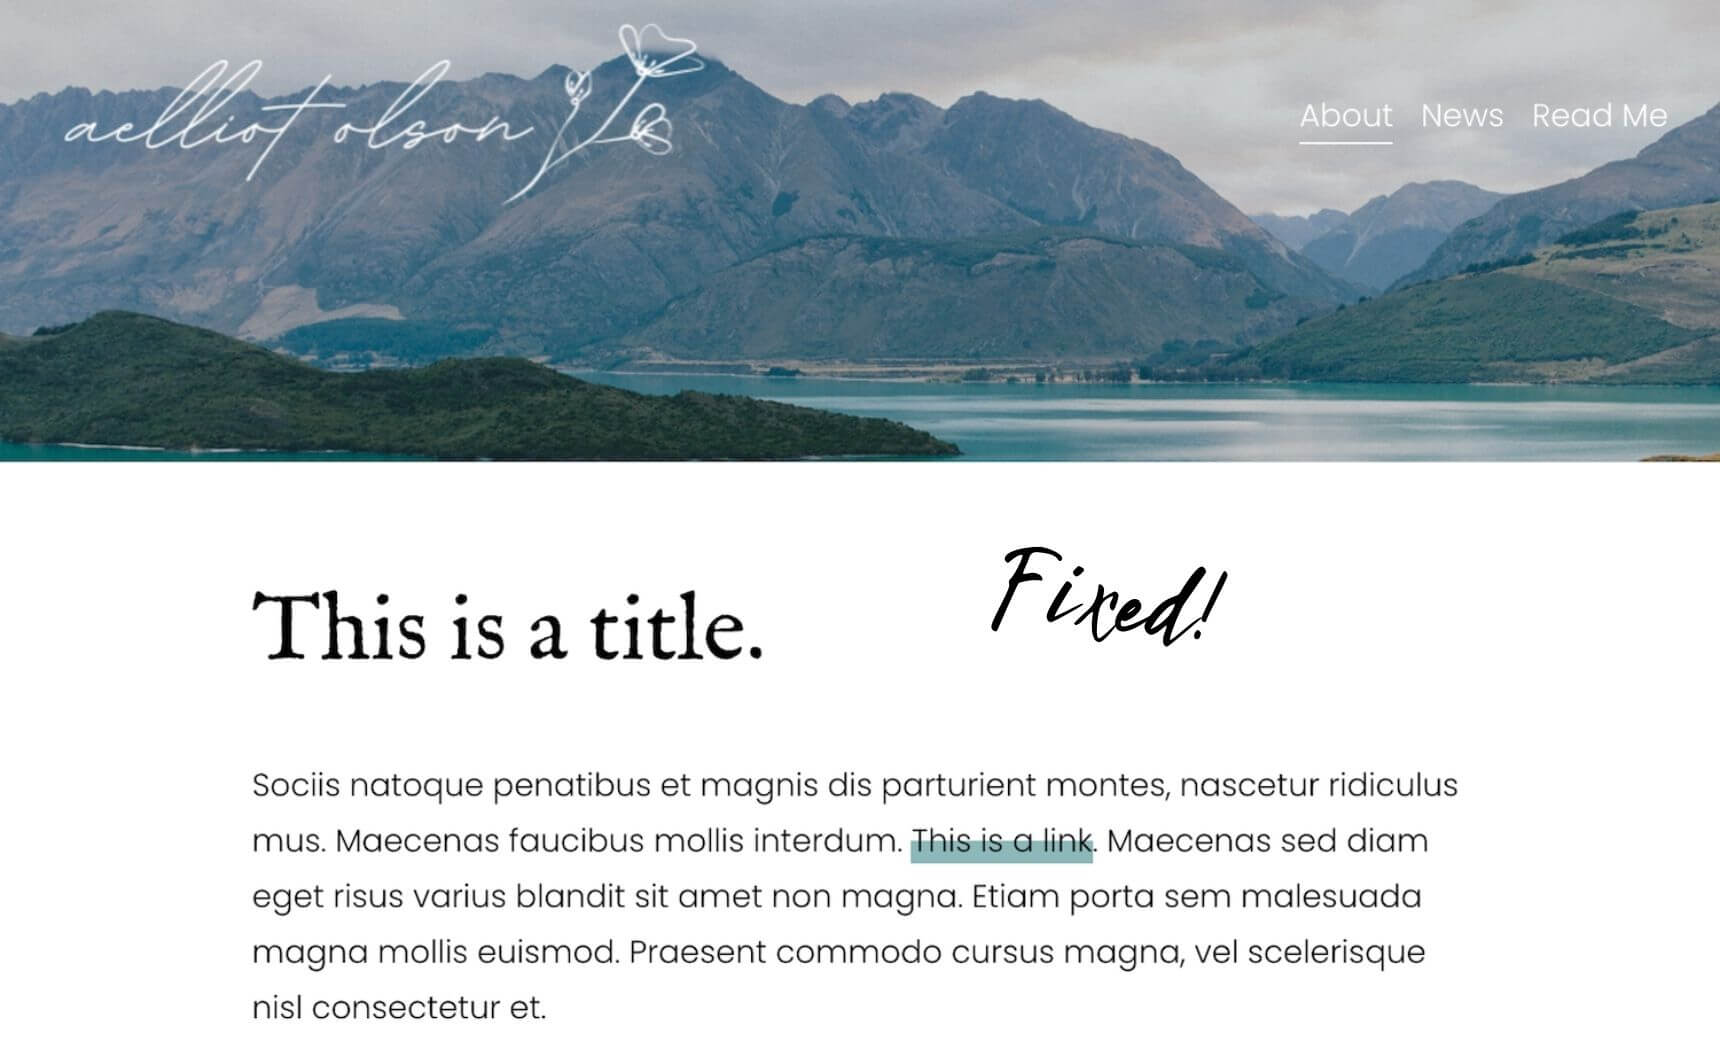
Let’s say you want to use lowlights for all the links on your website. If you don’t want to have to worry about adding the span tags to every link, here’s an easy way to add lowlights to all links by default. In CSS, links are denoted as a. So you could take the H1 above and change H1 to a: a { background: linear-gradient(180deg, rgba(255,255,255,0) 50%, #8cb8ba 50%); } But in that case, Squarespace will add a lowlight to ALL the links on your site — including your logo and menu: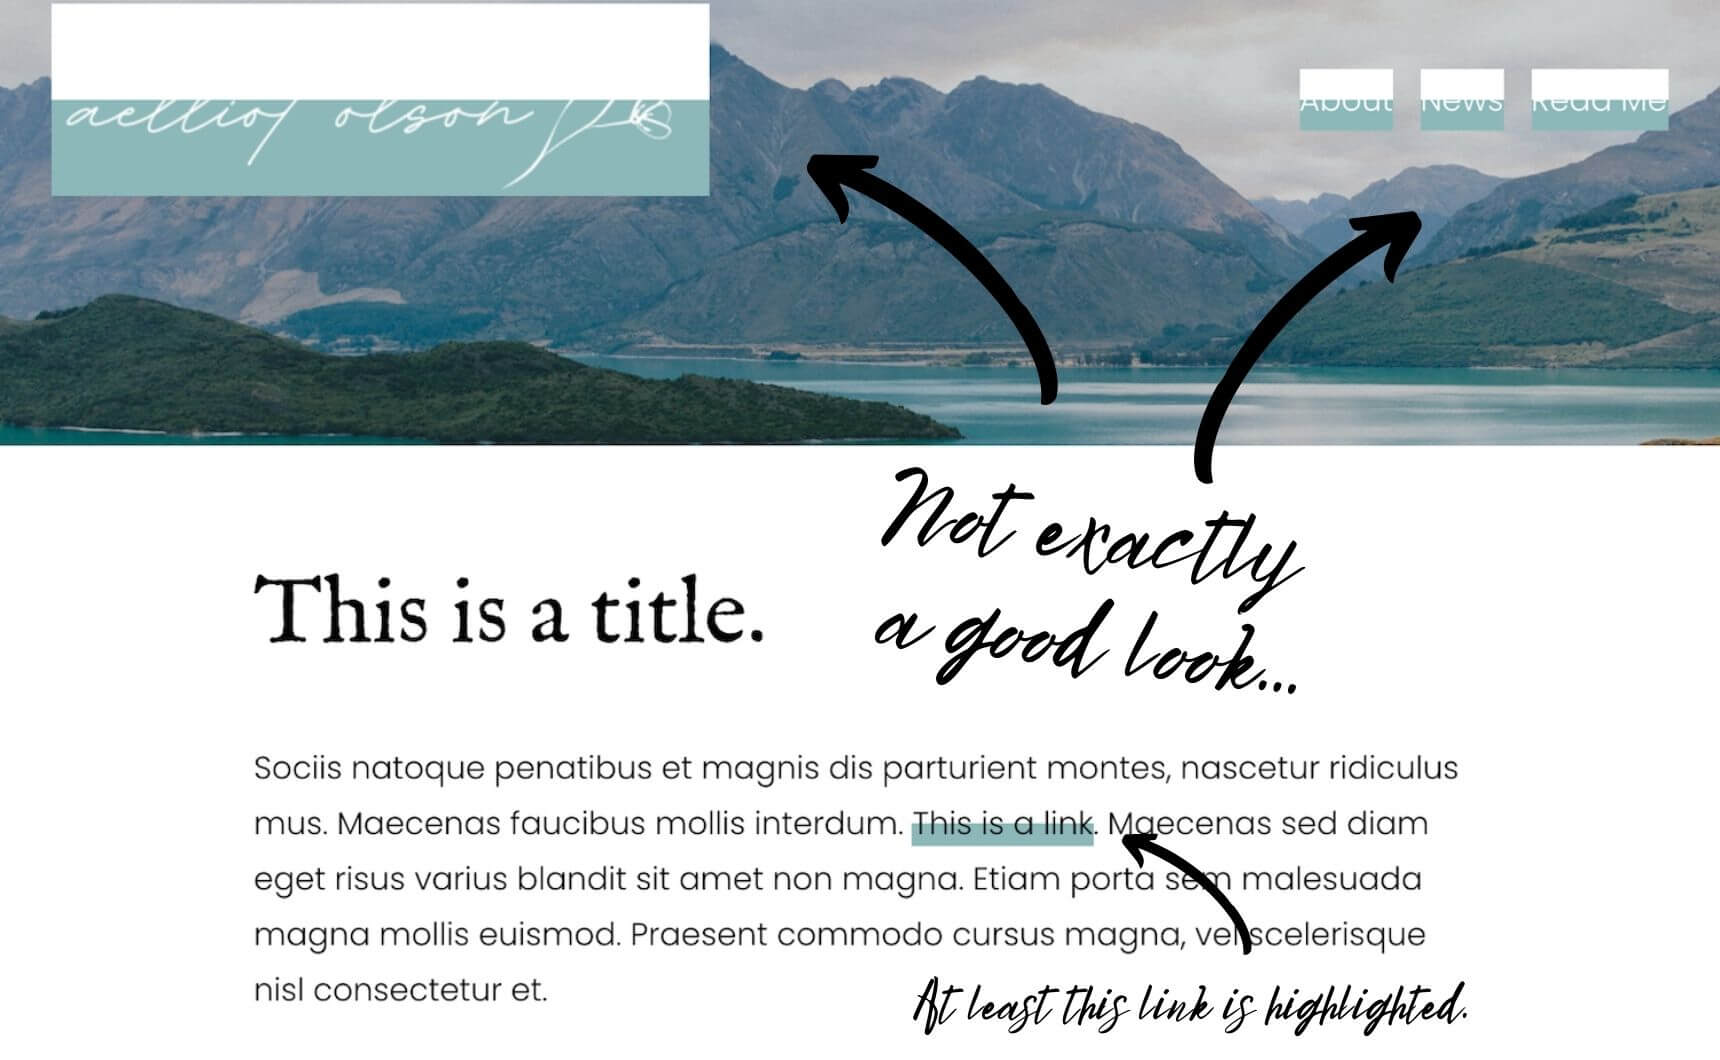 If you don’t want the links to be highlighted, use this instead:
p a {
background: linear-gradient(180deg, rgba(255,255,255,0) 50%, #8cb8ba 50%);
}
By adding p, the formatting now applies to links (a) inside of paragraphs (p).
ANOTHER PRO TIP
If the CSS doesn’t seem to be adding a lowlight to your link, try adding !important to your code like so: p a { background: linear-gradient(180deg, rgba(255,255,255,0) 50%, #8cb8ba 50%) !important; } In general, it’s best to avoid using !important unless absolutely necessary. Use it as a last resort!And now, it’s your turn!
Now that you have these examples, I encourage you to explore the style options. For example, you can change the colors to match your website branding. Check out How to Create Easy & Elegant Website Brand Guidelines for this 3-step process:- Pick out key colors from images on your site
- Find the color codes
- Replace the highlight colors in the CSS examples

